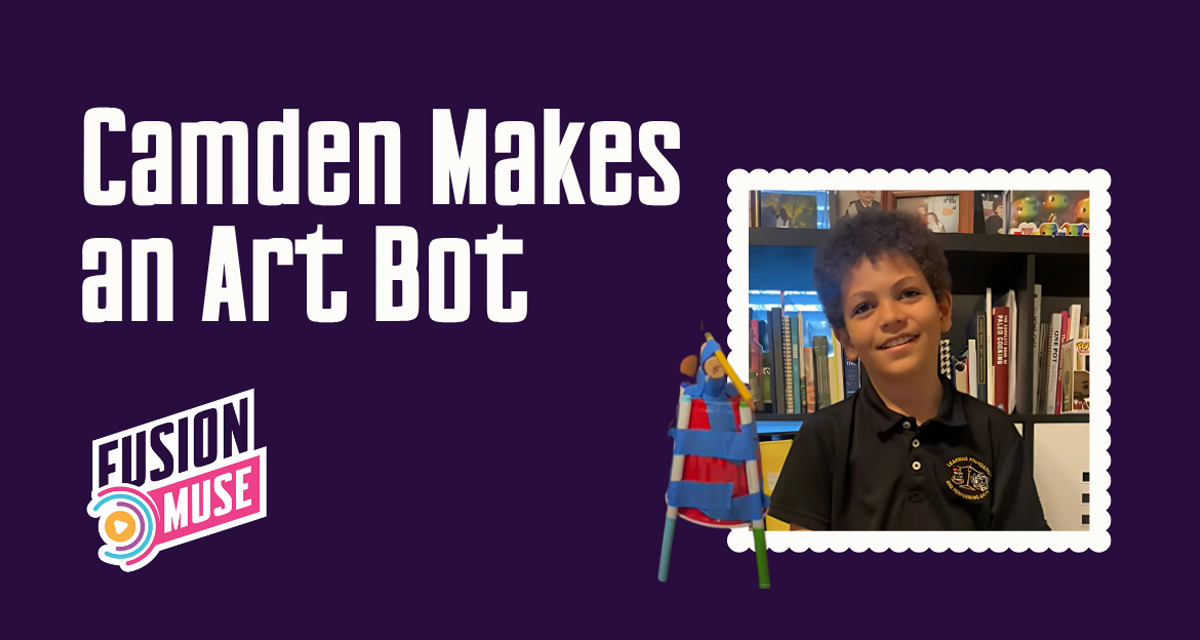
Every year the kids have to do at least one big science fair project. I’ve been a mom for 27 years now (holy crap!) and let me tell you, I have done a lot of science fair projects. Some were… questionable. Others were brilliant (if I do say so myself). But this year? Camden knocked it out of the park with a super fun one: The Art Bot.
Yes, it’s exactly what it sounds like: a little robot that makes art all by itself. And the best part? It’s simple, cheap, and you can totally build one at home too.
What Is an Art Bot?
An Art Bot (also called a scribble bot or drawing robot) is a tiny DIY robot that moves and draws at the same time. It’s a perfect combo of science, technology, engineering, art, and math – aka STEAM. Ours was part science fair, part craft project, and part robot dance party.
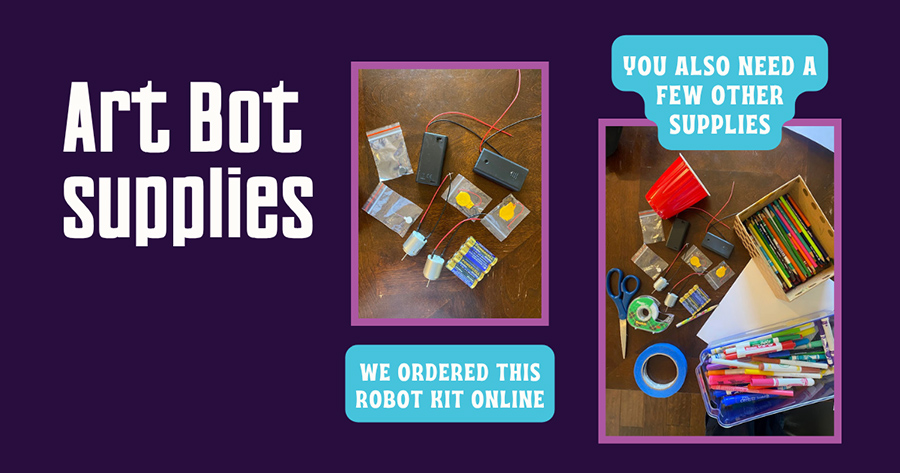
Supplies You’ll Need:
- 1 plastic cup
- 3–4 markers
- 1 small vibrating motor (we used one from an old electric toothbrush)
- Tape (masking, duct, or whatever you’ve got on hand)
- Battery + holder
- Optional: pipe cleaners, googly eyes, feathers, and imagination
Tip: You can buy small motors and battery packs in bulk online or at craft stores in the STEM section.
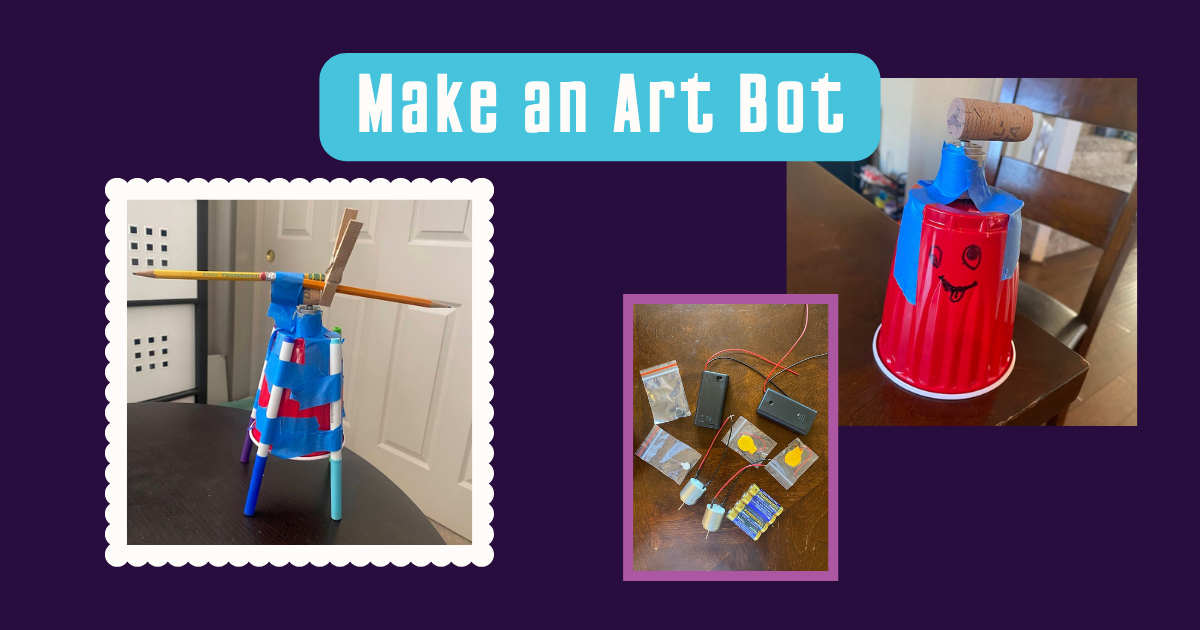
Step-by-Step: How We Made It
Step 1: Attach the Legs
Tape the markers around the bottom edge of the cup so they act like legs. You want them evenly spaced and long enough to reach the table.
Step 2: Add the Motor
We used a little vibrating motor and taped it to the top of the cup. Make sure it’s secure — and tilted slightly off-center so it causes the bot to wobble and spin when powered on.
Step 3: Connect Power
Camden used a small battery holder with AA batteries. Once connected, the motor started vibrating and the bot started dancing!
Step 4: Watch It Go!
Put your Art Bot on a big sheet of paper, flip the switch, and let it do its thing. You’ll be amazed at the funky designs it makes.
Optional: Decorate It
Give your Art Bot some serious personality with feathers, pipe cleaners, and silly eyes. This step is where creativity really kicks in.
Pro tip: do not use scissors to make a hole in a red solo cup. I ended up getting stitches. Learn from me.
Watch Camden’s Art Bot in Action!
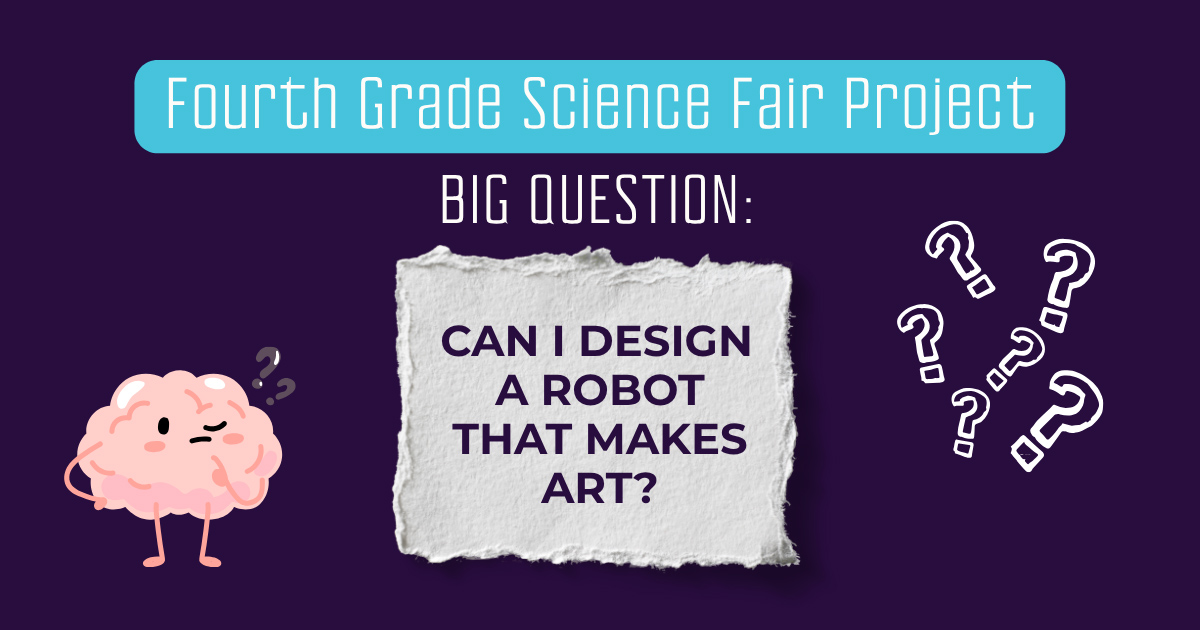
We had to document the process! Watch as we show Camden working on answering his big question: “Can I make a robot that makes art”, for his fourth grade science fair project:
Turning The Art Bot Into a Fourth Grade Science Experiment
To level up this project for the science fair, Camden turned it into an experiment about balance and motion. We used a cork on top of the cup to test how the bot behaved with different weight placements.
Goal:
Test how different weight placements affect the movement of the Art Bot.
Hypothesis:
“If the weight on top of the Art Bot is off-center, the robot will wobble more and draw less consistent patterns. If it’s centered, the movement will be smoother.”
The Setup:
We added a cork to the top of the cup to use as a base for testing. Then we did three separate trials to see how the position of added weight (a pencil) would affect movement.
Materials:
- Fully built Art Bot (with markers, cup, motor, battery, etc.)
- Cork for attaching weights
- Pencil to act as added weight
- Stopwatch or timer
- Large sheets of paper (we used 3, labeled for each trial)
- Lab notebook (or a piece of paper to write down results)
The Experiment:
| Trial | Setup | What happened |
| 1 | Pencil centered on the cork | Bot moved in slow, steady circles. Balanced and consistent. |
| 2 | Pencil taped off-center | Bot shook wildly, tipped slightly, and scribbled erratically. |
| 3 | Pencil centered again | Bot returned to smooth movement with cleaner circular designs. |
Observation & Conclusion:
Camden discovered that even a small shift in weight can throw the Art Bot off balance. When the pencil was off to one side, the robot lost its stability and drew chaotic patterns. But when weight was centered, it moved in calm, consistent circles.
This simple change taught us about center of gravity and why symmetry matters in engineering.
Why the Art Bot Is Great for Kids
This project isn’t just fun, it’s full of hidden learning moments.
Building an Art Bot lets kids:
- Explore electricity (basic circuits with a motor and battery)
- Understand balance and motion (especially if they experiment with weight distribution)
- Problem-solve (what to do if it tips, doesn’t move, or shakes too hard)
- Use fine motor skills (cutting, taping, attaching pieces carefully)
- Express creativity (decorating, drawing, and even naming their bot!)
And the best part? Kids don’t even realize how much they’re learning, because it feels like play.
This is the kind of hands-on experience that sticks. Camden didn’t just build something, he understood how it worked.
Art Bot Experiment Extension Ideas
Want to go further?
Try one of these ideas to take the project to the next level:
1. Change the Surface
Does it draw differently on cardboard vs. paper vs. a tablecloth?
2. Try Different Marker Lengths
What happens when the “legs” are uneven?
3. Use Multiple Motors
Can you make the bot move faster or in crazier patterns?
4. Add Sound
Try attaching a buzzer or noisemaker and explore how to power it together with the motor.
5. Draw a Maze
Can your bot make it out of a paper maze? Add walls and see what it does!
Each variation becomes a new mini-experimen, great for encouraging creative thinking and building scientific curiosity.
Science Fair Tips
If your child is submitting this for a science fair, here’s how to structure the display board:
Science Fair Board Sections:
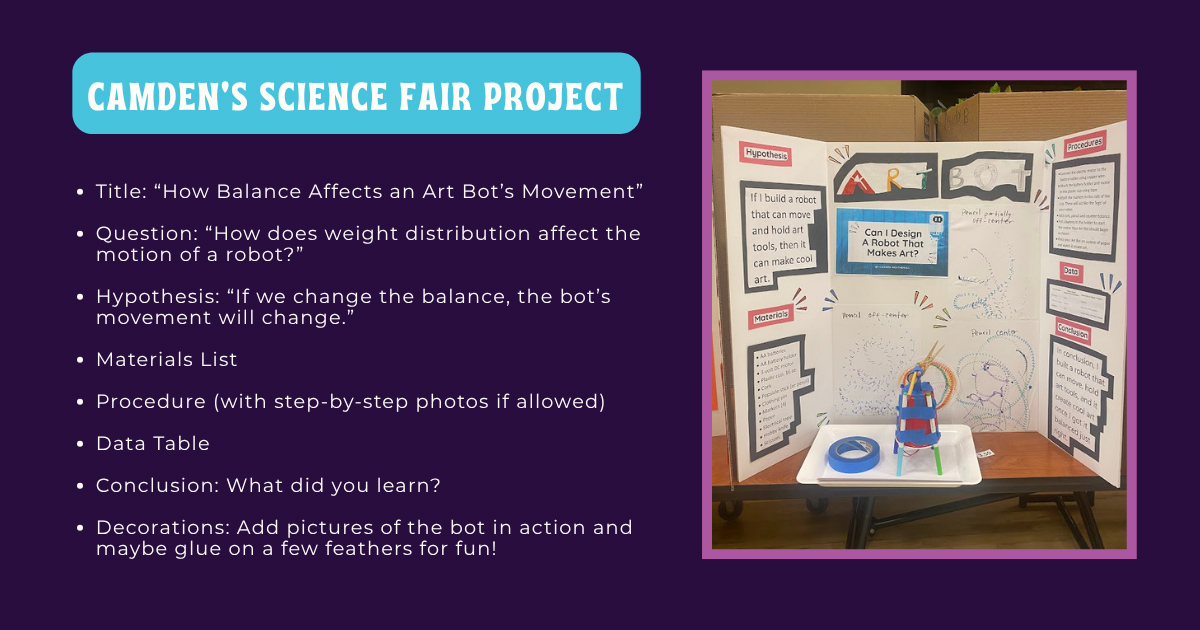
- Title: “How Balance Affects an Art Bot’s Movement”
- Question: “How does weight distribution affect the motion of a robot?”
- Hypothesis: “If we change the balance, the bot’s movement will change.”
- List of Materials Used
- Procedure (with step-by-step photos if allowed)
- Data Table (show your three trials like earlier)
- Conclusion: What did you learn?
- Decorations: Add pictures of the bot in action and maybe glue on a few feathers for fun!
Bonus: Bring the bot to the science fair for a live demo — judges love when kids can show what they built.
Want to Make an Art Bot Too?
If you’re a parent, teacher, or just someone who loves a good hands-on project, the Art Bot is a perfect mix of STEAM learning and creative chaos. You can build it with things you probably already have at home, and each time you make one, it’ll be a little different.
Try it with your kids, your classroom, your scout troop, or just for fun.
Bonus: It makes an awesome rainy-day activity or weekend project.
If you do make one, tag us @FusionMuse – we’d love to see your version!
Looking for additional arts and crafts ideas to do with kids? Be sure to subscribe to our blog and discover your own creative muse!
Jenny has a passion for learning and sharing what she learns. She has researched, written and published hundreds of articles on a wide variety of topics, including: SEO, art, design, marketing, ethics, business management, sustainability, inclusion, behavioral health, wellness and work-life balance.