
Hi, I’m Jenny, the creator of Fusion Muse. I’m a mom of six and now a grandma to six, and I love mixed-media art, especially when I get to make it with my kids. Some of my kids are way into art, while others are creative in completely different ways, but all of them love art in some form.
Long story short, that is how Fusion Muse was born. I wanted to create a kid-friendly resource that inspires kids to make things, try new supplies, use their imaginations, and develop their own creative style. The goal isn’t for everything to be perfect or look exactly like my example. It’s simply to get kids creating.

And now I’ve been asked to teach art for a local homeschool group with roughly 25 kids of different ages. Since I’m already planning the lessons, testing the projects, and making examples, I thought it would be fun to document the process and share it here.
Whether you’re looking for projects to do at home with your own kids, you’re a homeschool parent planning lessons for a group, or you teach art yourself, I hope you find something useful. I’m really doing this for fun, for my own kids and grandkids, and because I love making art. If it helps inspire other kids to create too, even better.
For our first class, we’re starting by making personalized art journals. I wanted the kids to begin by making their books feel like their own, while also learning about mark-making, color palettes, lettering, collage, and layering.
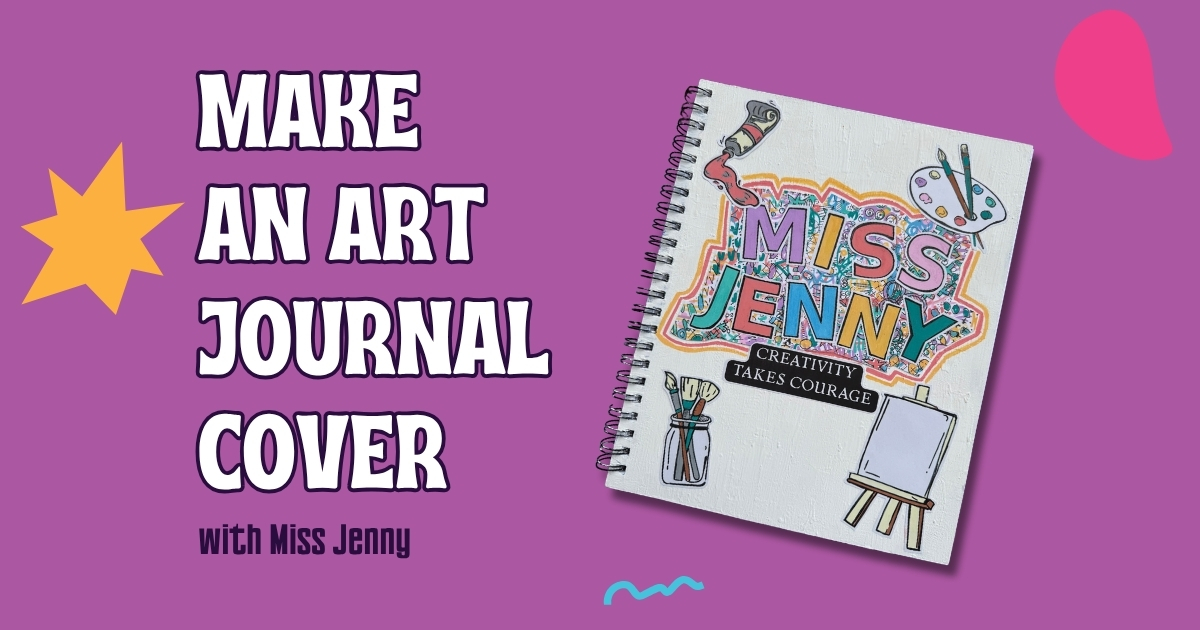
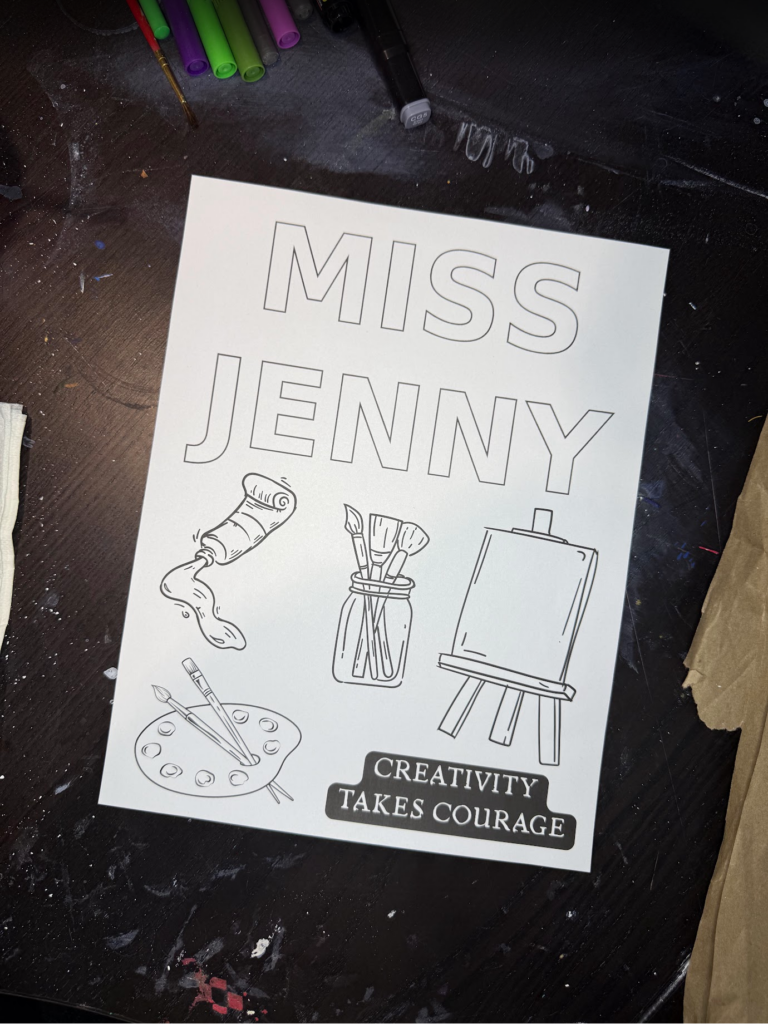
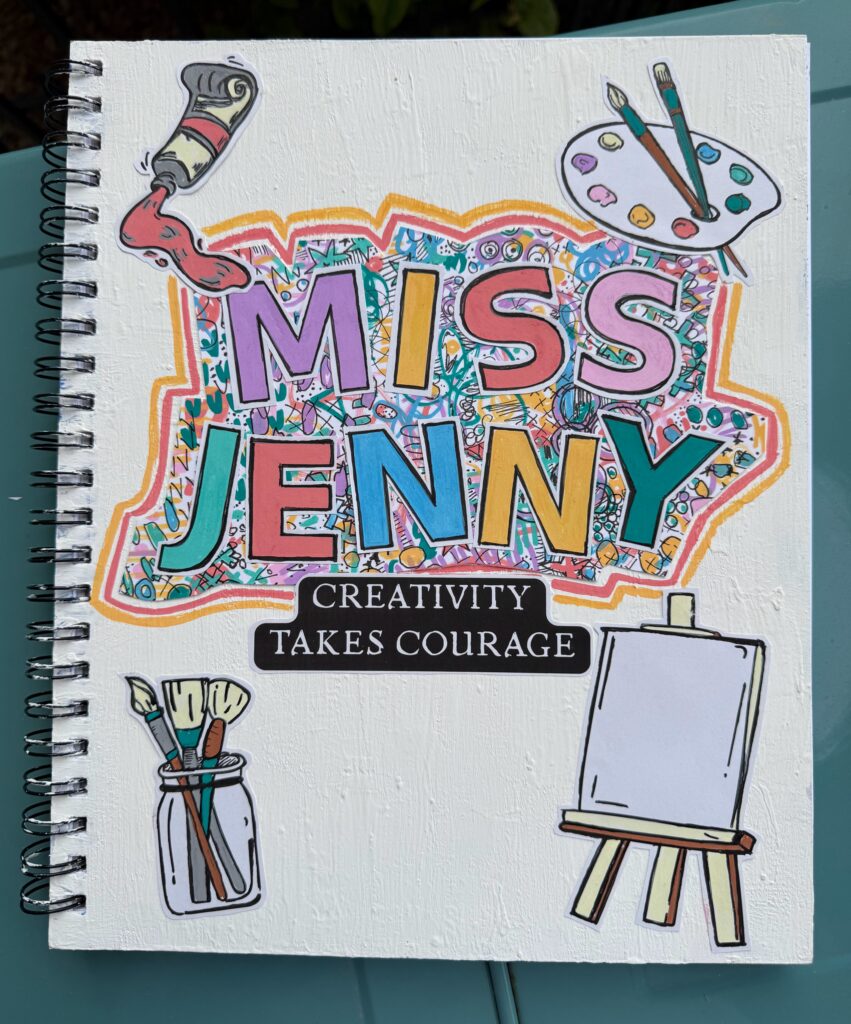
I made my own sample using my art teacher name, “Miss Jenny,” along with a few art-related illustrations. What began as a simple cover project quickly turned into several useful reference pages and a very colorful masterboard. That is exactly what an art journal is for: experimenting, testing supplies, collecting ideas, and seeing where the process takes you.
You can follow the same steps with kids, teens, or adults. Use the supplies you already have, choose colors you love, and make the project completely your own.
Watch the Art Journal Cover Video
Supplies and Materials
- Canson Mixed Media 9 x 12 Art Pad, or another journal or sketchbook
- White acrylic paint or gesso
- Two paintbrushes: one wider flat brush and one smaller brush for detail work
- Paper towel or cloth for wiping paint away from the spiral
- Water cup or bowl for cleaning brushes
- A printed page featuring your name in block letters, or paper for drawing your own
- Printed images, hand-drawn elements, or stickers
- Acrylic paint markers in several colors, or any markers, pens, crayons, or colored pencils you have
- Black Uni-ball pen, paint marker, or another black pen for outlining
- Cardstock
- Packaging paper or scrap paper
- Scissors
- Glue stick or glue tape
Optional Supplies
- Mod Podge or another clear sealer
- Small envelope or paper for making a pocket inside the cover
- Stickers, collage paper, stamps, or any other decorations you want to add
Step 1: Paint the Journal Cover
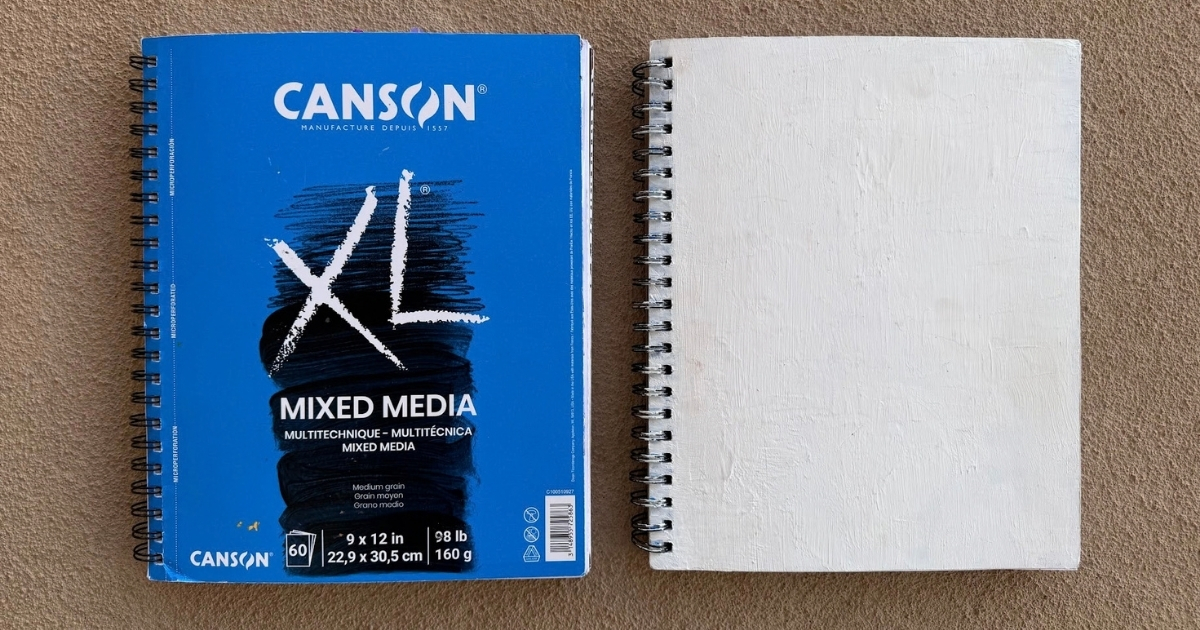
My Canson notebook had a dark printed cover that I wanted to cover, so I started with white acrylic paint. Gesso would work well too.
Use the wider flat brush for most of the cover and the smaller brush as you get close to the spiral binding. Keep a paper towel or cloth nearby so you can wipe paint off the spiral before it dries. (In the example above, I used gesso and didn’t bother to wipe off the paint, so either way goes!)
It took a few coats of acrylic paint to hide the original cover. Thin layers work better than one heavy coat, so let each layer dry and then add another until you are happy with the coverage. The surface does not need to be perfectly smooth. A little texture makes it feel more like an art journal.
Set the journal aside and let it dry completely before gluing anything onto the cover.
Step 2: Create Your Name and Art Elements
While the cover is drying, create the pieces you want to add to it. You can use a computer to type your name in large block letters, draw the letters yourself, or use letter stickers.
I made a printable featuring “Miss Jenny” and added a few art-related elements that I could color and cut out. You could draw your own paintbrushes, pencils, stars, flowers, hearts, or anything else that represents you. You can also use stickers if you want to make this step faster.
If younger kids are doing the project, having their names printed ahead of time gives them an easy place to begin while still leaving plenty of room for creativity.
Step 3: Make a Mark-Making Reference Page
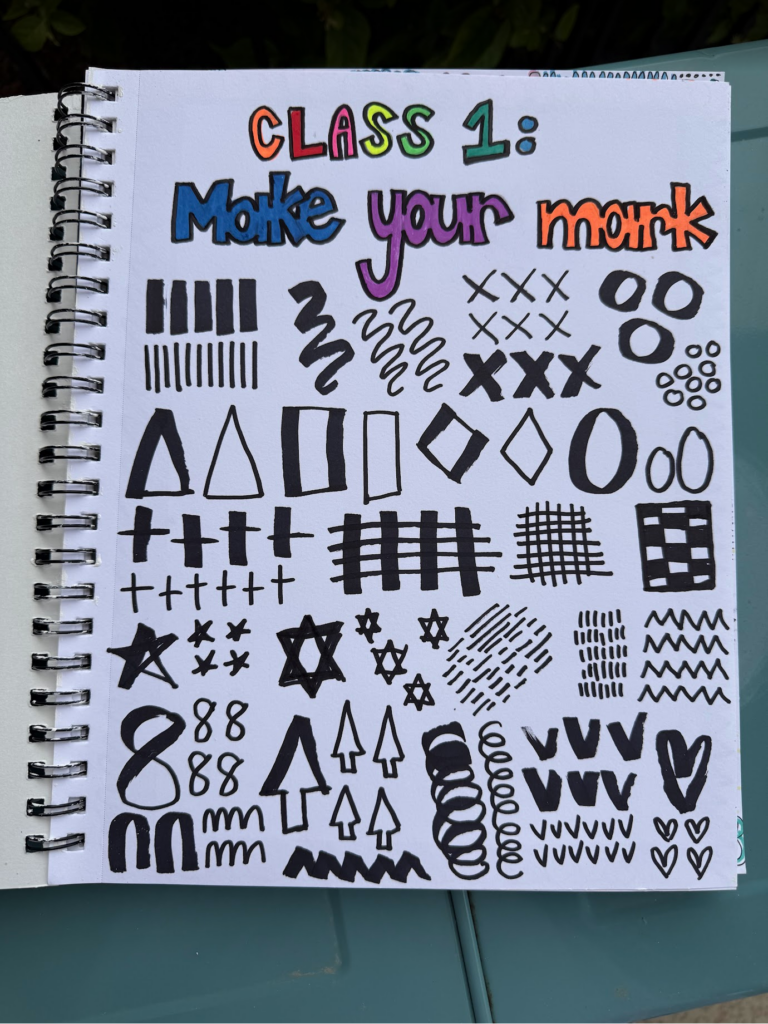
Before I decorated my name, I decided the journal needed a page filled with mark-making ideas.
Mark making simply means creating lines, dots, shapes, patterns, textures, and doodles with your art supplies. Try to fill a page with as many different marks as you can think of: straight lines, wavy lines, loops, zigzags, dots, dashes, crosses, spirals, stars, scallops, grids, flowers, leaves, and little repeating patterns.
There is no need to make the page perfect. It becomes a reference you can flip back to whenever you need an idea for filling a letter, decorating a collage, or adding detail to another project.
Step 4: Fill Block Letters with Patterns
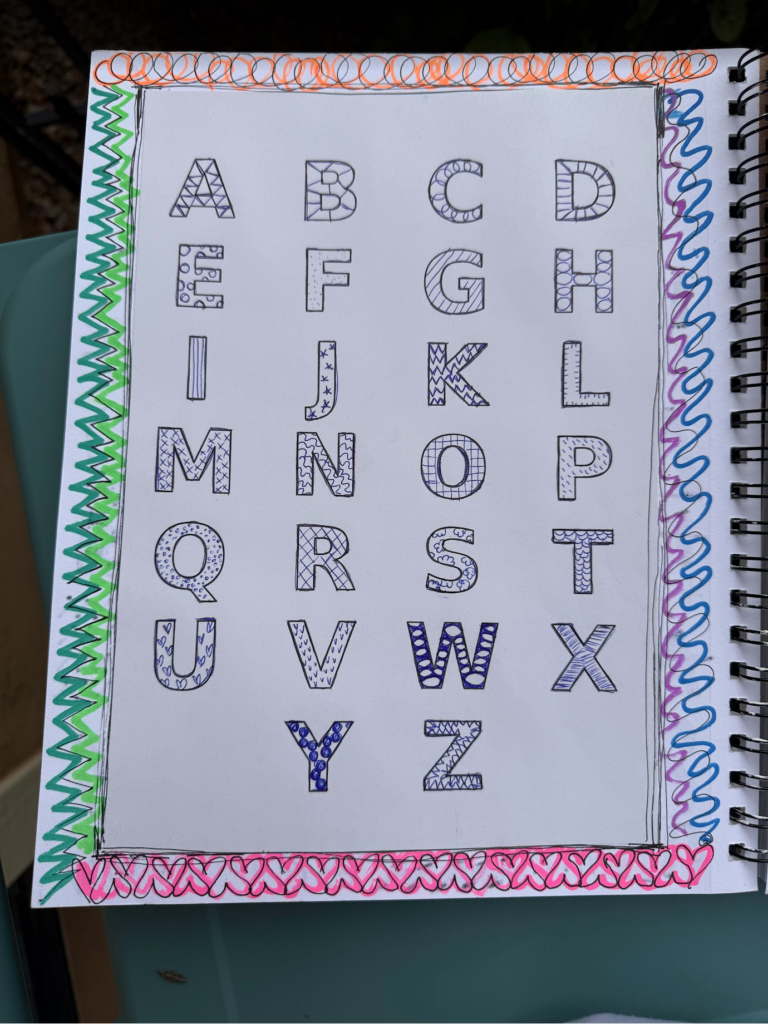
I also printed the alphabet in large block letters and added a different design inside each one. One letter might have dots, another might have stripes, and another might have hearts, stars, checks, or a woven pattern.
This gave the kids another visual reference for decorating their own names. Sometimes a blank letter feels intimidating. A page full of examples makes it much easier to choose a pattern and start.
You do not have to complete the entire alphabet in one sitting. This can become an ongoing page that you return to whenever you invent a new pattern.
Step 5: Test Your Supplies and Choose a Color Palette
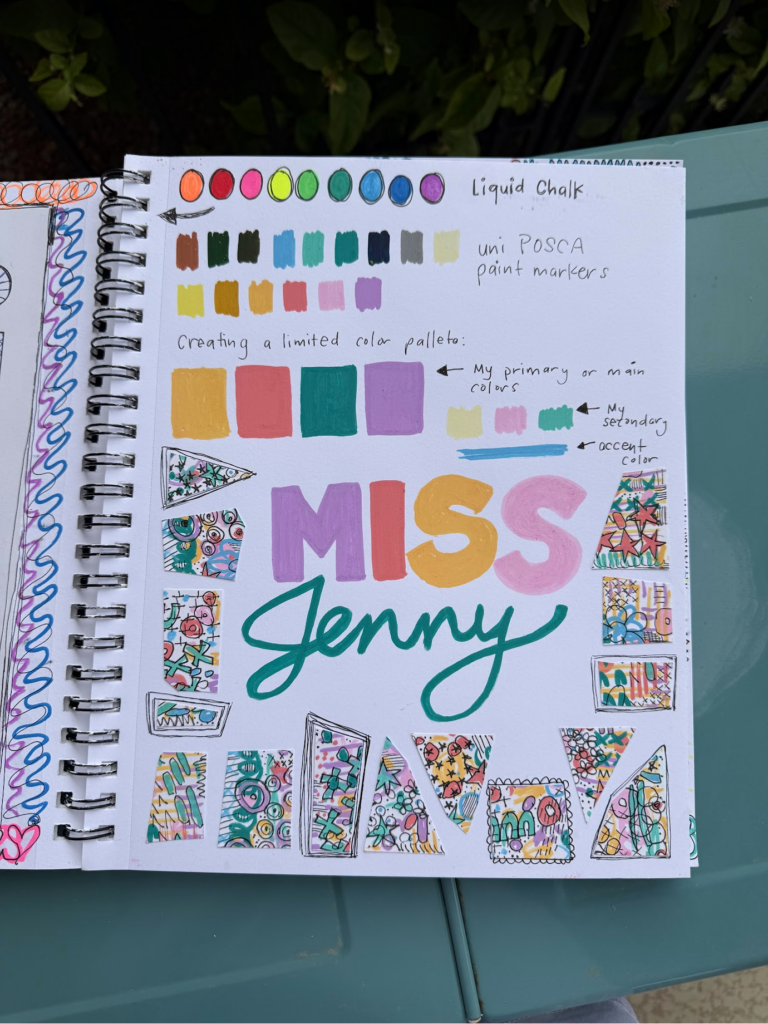
I love making swatches of every new marker or paint before I start a project. It shows me what the colors actually look like on the paper, and it helps me narrow my choices instead of trying to use everything at once.
For this project, I chose four bright colors as my main palette, three supporting colors, and one accent color. A limited color palette helps all the different marks, letters, and collage pieces feel like they belong together, even when there is a lot happening on the page.
Once I chose my colors, I tested some block lettering and wrote my name in cursive. I like actually testing things in my art journal. That is what makes it fun. The journal is not only for finished artwork; it is a place to play with ideas and learn what your supplies can do.
Step 6: Decorate and Outline the Printed Pieces
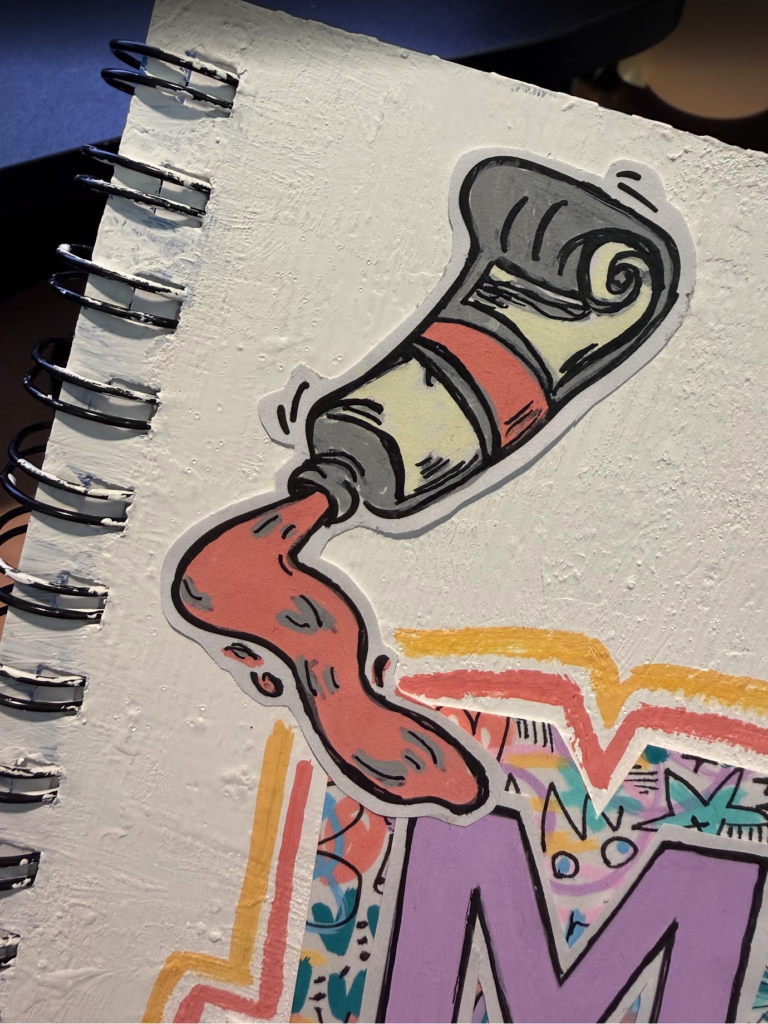
Next, I used paint markers to decorate my printed name and the smaller art elements. You can use whatever markers, pens, crayons, or colored pencils you already have.
After adding color, I outlined the pieces in black with a Uni-ball pen. That extra step helps printed images pop and makes them feel more like hand-drawn elements.
Be sure to let the black ink dry before touching it or adding another layer. Mine will smear if I move too quickly, but I still love using it because it draws nicely over dried paint.
Step 7: Create a Masterboard
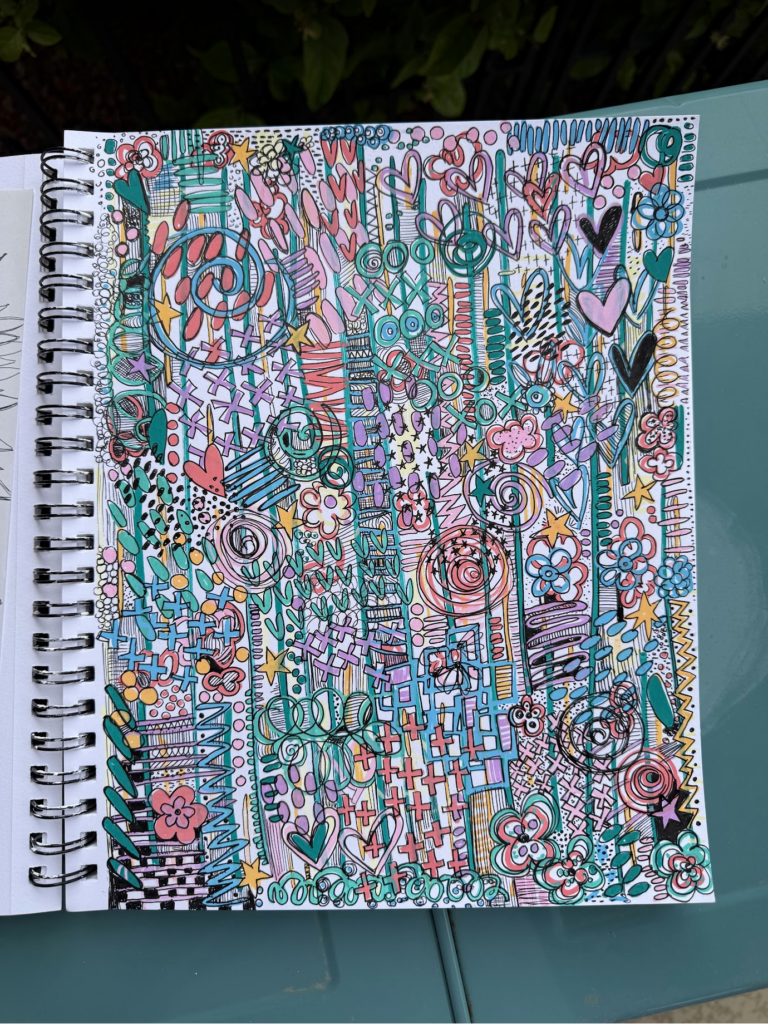
My block letters were colorful, but I had not filled them with patterns. I decided the name needed another layer behind it, so I made a masterboard using the same color palette.
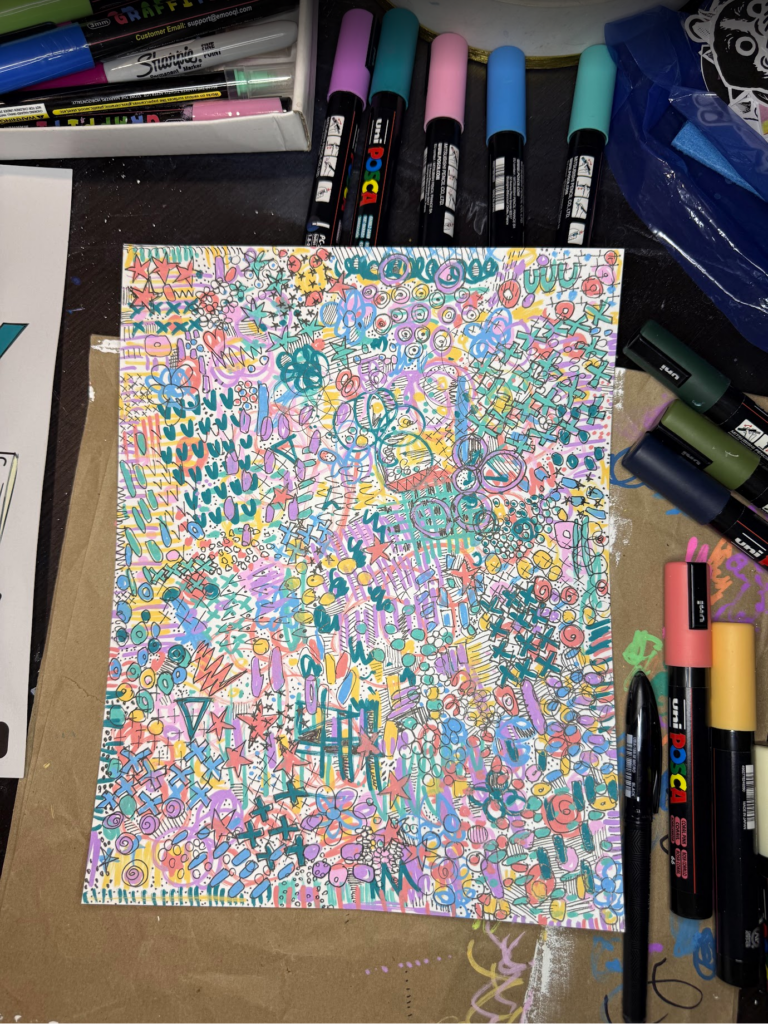
A masterboard is one larger piece of paper that you completely cover with color, marks, doodles, stamps, paint, or collage. It is not necessarily meant to stay whole. Once the page is finished, you can cut it into smaller pieces and use them as backgrounds, tags, borders, collage layers, or decorative shapes.
I started with a piece of cardstock and filled it with marks in every color from my palette. I layered lines, dots, shapes, and patterns until almost none of the original paper showed. Once the markers were dry, I went back with my black pen and added outlines and finer details across the entire page.
There are no rules for this part. If an area looks empty, add another mark. If two colors overlap, let them. The limited palette will help hold everything together.
Step 8: Layer and Fussy Cut Your Name
Once the masterboard was finished, I glued my printed name onto it. Then I fussy cut around the whole thing, leaving part of the colorful masterboard visible as a border.
Fussy cutting just means carefully cutting around an image instead of cutting it into a basic square or rectangle. I like to leave a little breathing room around the edges rather than cutting directly against every line.
Do not throw away the masterboard scraps. I cut mine into small one- to two-inch pieces and glued them onto my color-testing page. They turned into some of my favorite little details in the book.
Step 9: Assemble the Cover
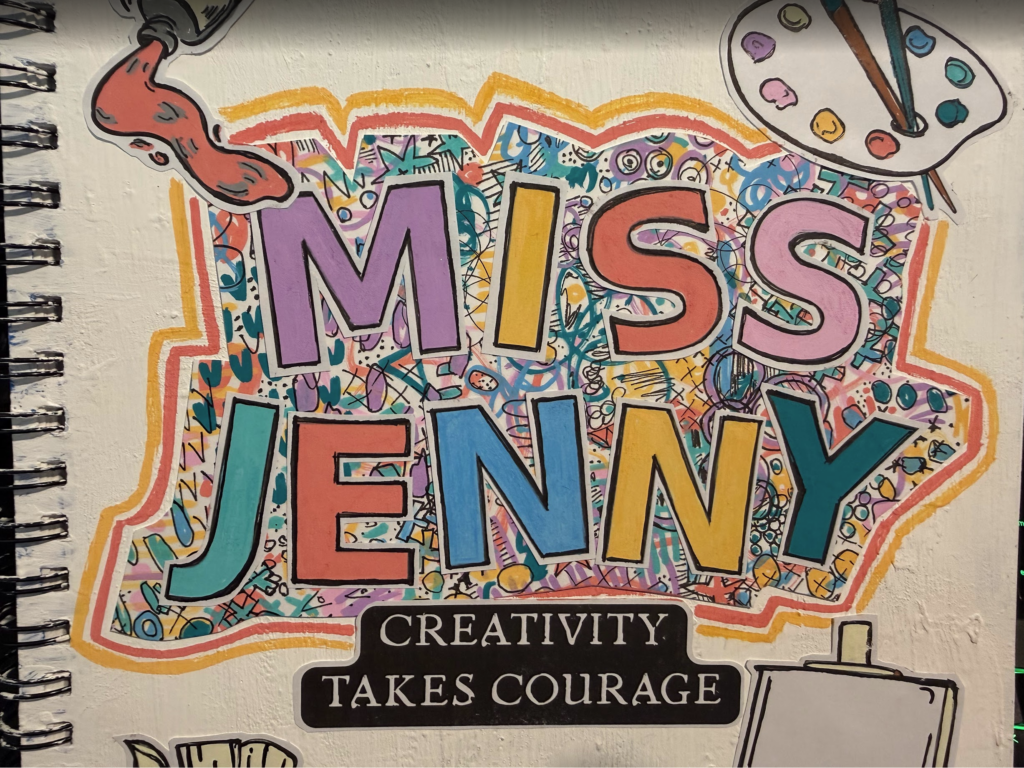
Once the painted cover and all the paper pieces were completely dry, I started arranging everything. Move the pieces around before gluing so you can test different layouts.
I glued down my layered name first and then added the smaller art elements. This is where you can make the cover as simple or as detailed as you want. Add stickers, draw directly on the cover, repeat patterns around the edges, paint additional shapes, or layer in more collage paper.
I kept mine fairly simple, but I added a quote and outlined parts of my name with a few additional colors.
Bonus: Make Another Masterboard Inside the Journal
Because I cut up my first masterboard, I decided to make another one directly on a page in the journal. This time I began with lines and kept building until the page developed its own interesting details.
This kind of page is one of my favorite art-journal exercises because there is no wrong way to do it. Use your limited color palette, repeat a few marks, introduce new patterns, and keep adding details until the page feels finished to you.
What Is in My Art Journal So Far?
After completing this project, my new journal has:
- A custom painted cover featuring my name
- A mark-making reference page
- A patterned alphabet with a different design inside each letter
- A paint-marker and color-testing page with leftover master-board scraps
- One masterboard that I cut apart and used for collage
- A second masterboard drawn directly inside the journal
That is a pretty good start for a brand-new book. More importantly, I already have colors, patterns, and scraps that I can return to in future projects.
Protecting the Finished Cover
The paper elements glued to the cover will naturally get bent and worn as the journal is used. Some of mine are already curling a little because I have been carrying the book around and using it as an example.
My next step is to let all the paint and ink dry completely, test a small area, and then add a thin coat of Mod Podge as a clear protective finish. If you try this, apply it gently so the moisture and brush do not smear any of your marker or pen details.
I also want to add a pocket envelope inside the front cover. It will give me a place to save stickers, interesting paper scraps, leftover master-board pieces, and other small things I may want to use in future projects.
Make the Project Your Own
Your art journal does not have to look like mine. Use your own name, favorite colors, symbols, drawings, stickers, and patterns. You can make it bright and busy, soft and simple, or change it as you discover new things you like.
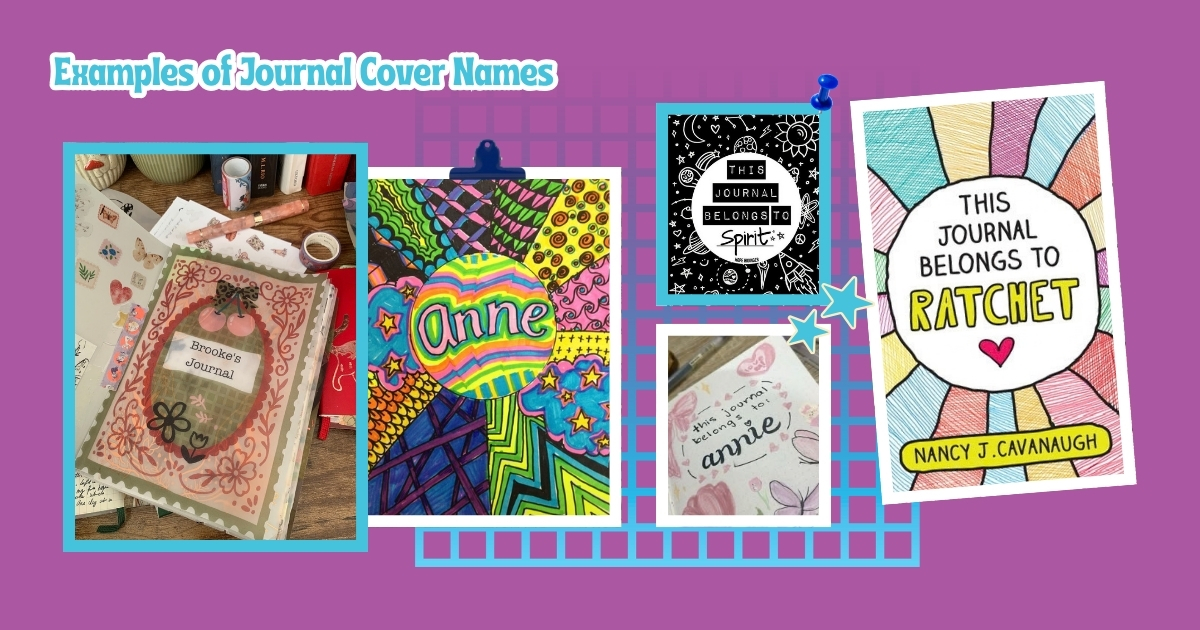
The best part is that the journal starts becoming yours before you even reach the first blank page. And once the cover is finished, you already have several ideas waiting inside whenever you are ready to make your next piece of art.

Jenny has a passion for learning and sharing what she learns. She has researched, written and published hundreds of articles on a wide variety of topics, including: SEO, art, design, marketing, ethics, business management, sustainability, inclusion, behavioral health, wellness and work-life balance.