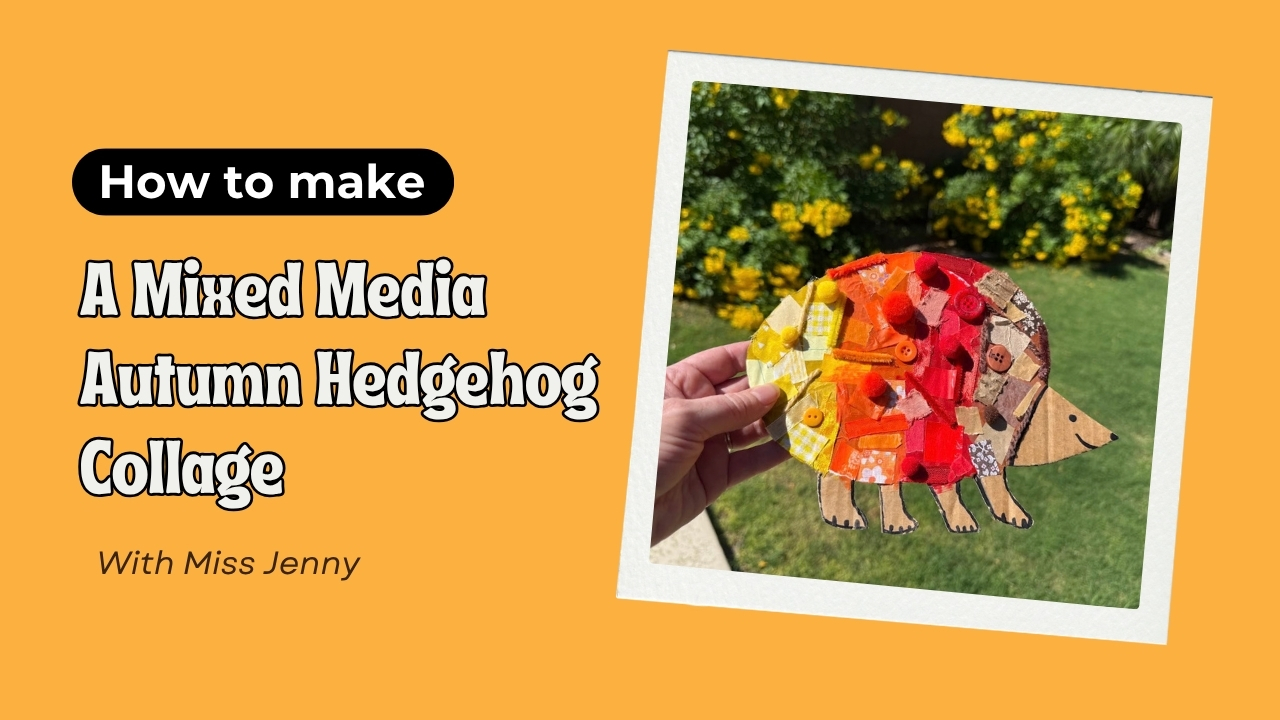


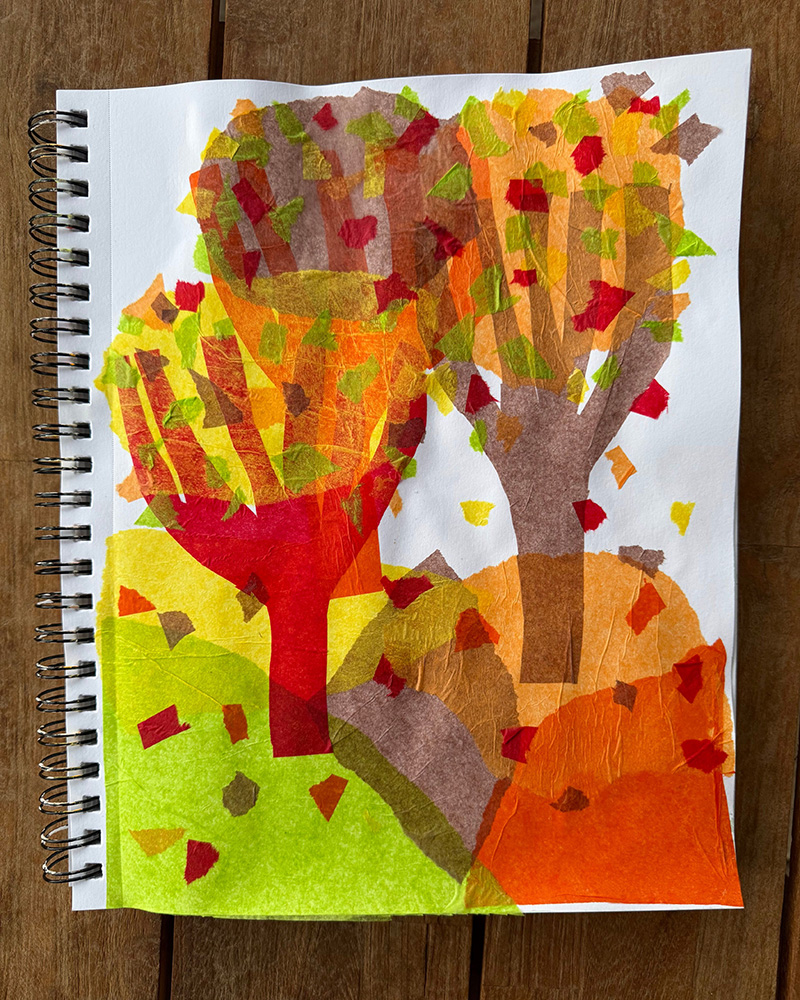
For our next art journal project, we’re making autumn trees with tissue paper and watered-down glue. I made a sample before class and quickly realized that cutting out the trees could be tricky for some of my younger students. So, I tried another example using torn paper.
In the video, I walk through both examples. You can cut your shapes, tear your paper, or use a little of each. We’re working directly in our mixed media journals, so you’ll want to leave them open to dry when you’re finished.
Watch the Video Tutorial
Follow along with Miss Jenny as I demonstrate both versions, including preparing the tissue paper, brushing on glue, and building the layers directly in a mixed media journal.
You can pause as you work or watch both demonstrations before deciding which version to try.
Supplies You’ll Need
- A mixed media art journal or heavyweight mixed media paper
- Tissue paper in fall colors, such as red, orange, yellow, and green
- Brown or black tissue paper for tree trunks and branches
- White school glue
- Water
- A small bowl for the glue mixture
- A medium paintbrush, approximately 1 inch wide
- Scissors for the cut-paper version
- A protective table covering
- A flat place to leave the artwork to dry
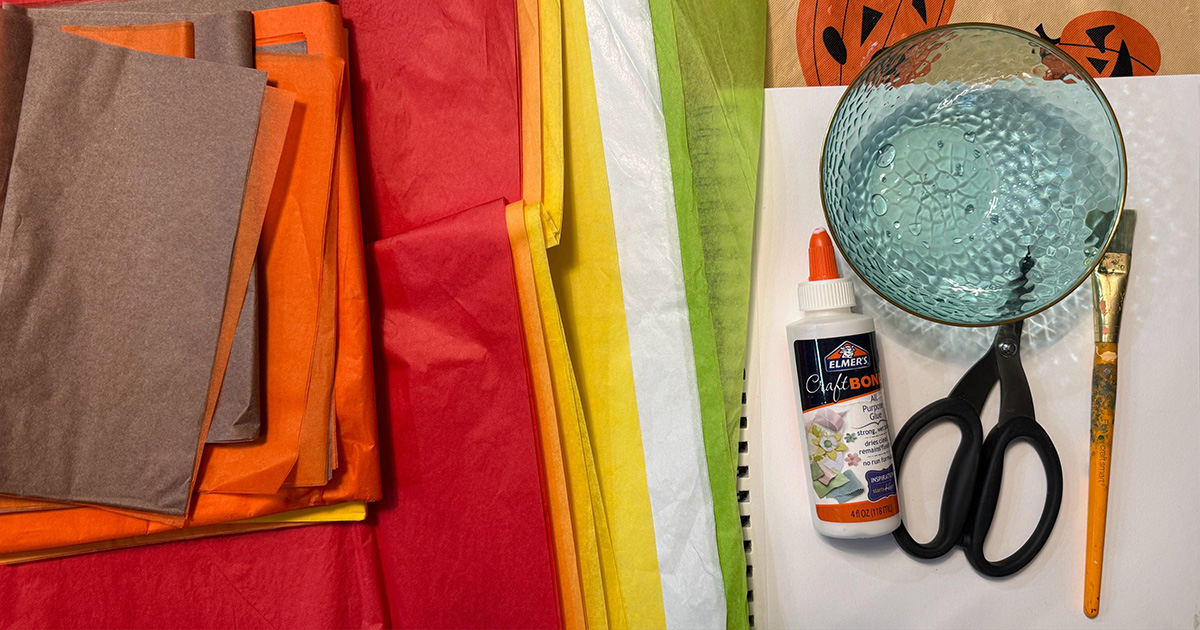
Regular tissue paper works well for this collage project. Some tissue papers release their color when wet, so test a small piece first if you want to see how yours behaves.
Before You Begin
Protect your work surface and open your journal to a blank page.
Pour a little white glue into a bowl and mix in a small amount of water. You want it thin enough to brush smoothly while still holding the tissue paper in place.
Gather your colors and cut or tear the larger tissue sheets into manageable pieces. Keep some larger pieces available for backgrounds and tree shapes.
Tissue paper becomes delicate when wet. Use a light touch with your brush, and work on one small section at a time.
Option One: Cut-Paper Fall Trees
This version uses scissors to create tree trunks and branches. Cutting the smaller shapes takes patience, making it a good choice for artists who enjoy more detailed work.
1. Plan Your Scene
Decide where your trees will go and how tall you want them to be. Try one large tree or several trees of different heights.
2. Create Your Background
Arrange tissue paper colors for your background. Brush a thin layer of glue onto a small section of the page, lay down the tissue, and gently smooth it with your brush.
Overlap some pieces to see how the colors change where they meet.
3. Cut Your Trees
Cut tree trunks and branches from brown or black tissue paper. Start with a wider trunk and cut thinner branches extending from it.
Keep your shapes simple enough to lift and move without tearing.
4. Glue the Trees in Place
Position your trees over the background. Carefully attach them with the glue mixture, gently brushing down any loose edges.
5. Add Fall Leaves
Tear small pieces of colorful tissue paper and arrange them around the branches. Add a few falling leaves or a pile beneath your trees.
Leave some spaces between the leaves so your branches can still show through.
Option Two: Torn-Paper Fall Trees
For this approach, use torn tissue paper to build the background and tree scene. The uneven edges become part of the artwork, so there’s plenty of room to experiment.

1. Tear Your Paper
Tear tissue paper into a variety of shapes and sizes. Make larger pieces for the background, longer strips for trunks and branches, and smaller pieces for leaves.
2. Build Your Background
Brush glue onto a small area of your page and add your torn tissue paper. Continue across the page, overlapping pieces as you go.
Choose colors for the sky and ground, or create a more abstract background using your favorite fall colors.
3. Build Your Trees
Arrange darker strips into trunks and branches. Try placing a few pieces before gluing them down so you can adjust the shape.
Your trees can be tall, short, crooked, or full of branches. Each one can look different.
4. Layer Your Leaves
Add smaller pieces of red, orange, yellow, and green tissue around your trees. Overlap colors, vary the sizes, and let some leaves drift toward the ground.
5. Check the Edges
Gently brush a little glue over any loose edges. Avoid repeatedly brushing the same wet piece, which can cause it to tear or bunch up.
Making It Work for Different Ages
For younger artists, offer manageable pieces of tissue paper and focus on tearing, arranging, and gluing. Larger trunks and simple branches are easier to handle.

Older artists can explore more detailed branches, trees of different sizes, and overlapping layers to create depth. Challenge them to show a windy day, a woodland path, or a forest with trees close up and farther away.
Both approaches can take time, especially when adding individual leaves. Artists can work at their own pace and return to the page later if needed.
Let Your Artwork Dry
Leave journals open and flat until the pages are completely dry. Wet glue can make pages stick together if the book is closed too soon.
Once dry, take a closer look at the overlapping colors and textures. Even with the same supplies, every artist’s fall landscape will be a little different!
For more mixed media projects, subscribe to our blog and follow along with Art Class with Miss Jenny.

Jenny has a passion for learning and sharing what she learns. She has researched, written and published hundreds of articles on a wide variety of topics, including: SEO, art, design, marketing, ethics, business management, sustainability, inclusion, behavioral health, wellness and work-life balance.